Three easy steps to install acrylic letters onto a wall
Step 1: Tape the Installation Template onto Wall
Using a level, tape the installation template onto the wall in the desired location.
Step 2: Place Acrylic Letters into Template
Peel the liner off the back of the acrylic letters, then place each letter into its corresponding spot on the installation template. Press the letters firmly to ensure they are securely attached.
Step 3: Remove Protective Film
Peel off the protective film from the front of each letter to reveal the final installation.
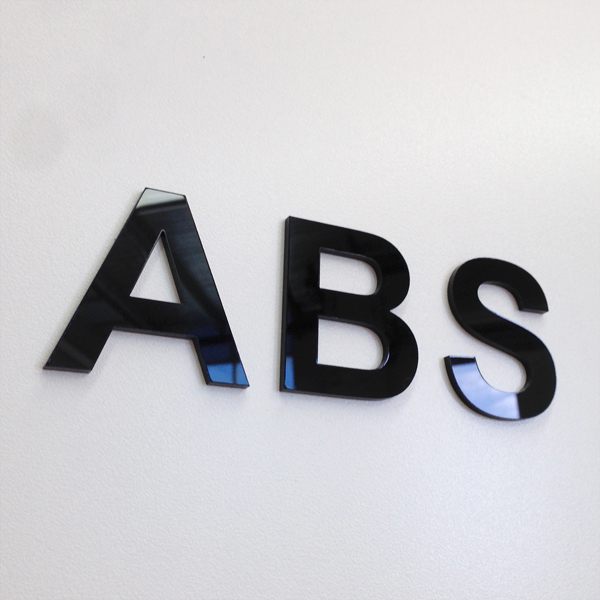
That’s it! Your acrylic letters are now installed on the wall.
Our 3D Acrylic Letters are cut from high-quality cast acrylic sheets, and come with the option of clear adhesive on the back. They’re designed to be easy to install without any tools, making them suitable for both indoor and outdoor use. These letters are a cost-effective way to add some depth and visual interest to your signage, helping your business stand out from the competition.
To make installation even easier, our letters come with a Smart-Stencil, simplifying the process and ensuring a smooth and hassle-free experience.
More information about acrylic letters, please visit:
http://ausignpro.com.au/products/3d-acrylic-lettters.html